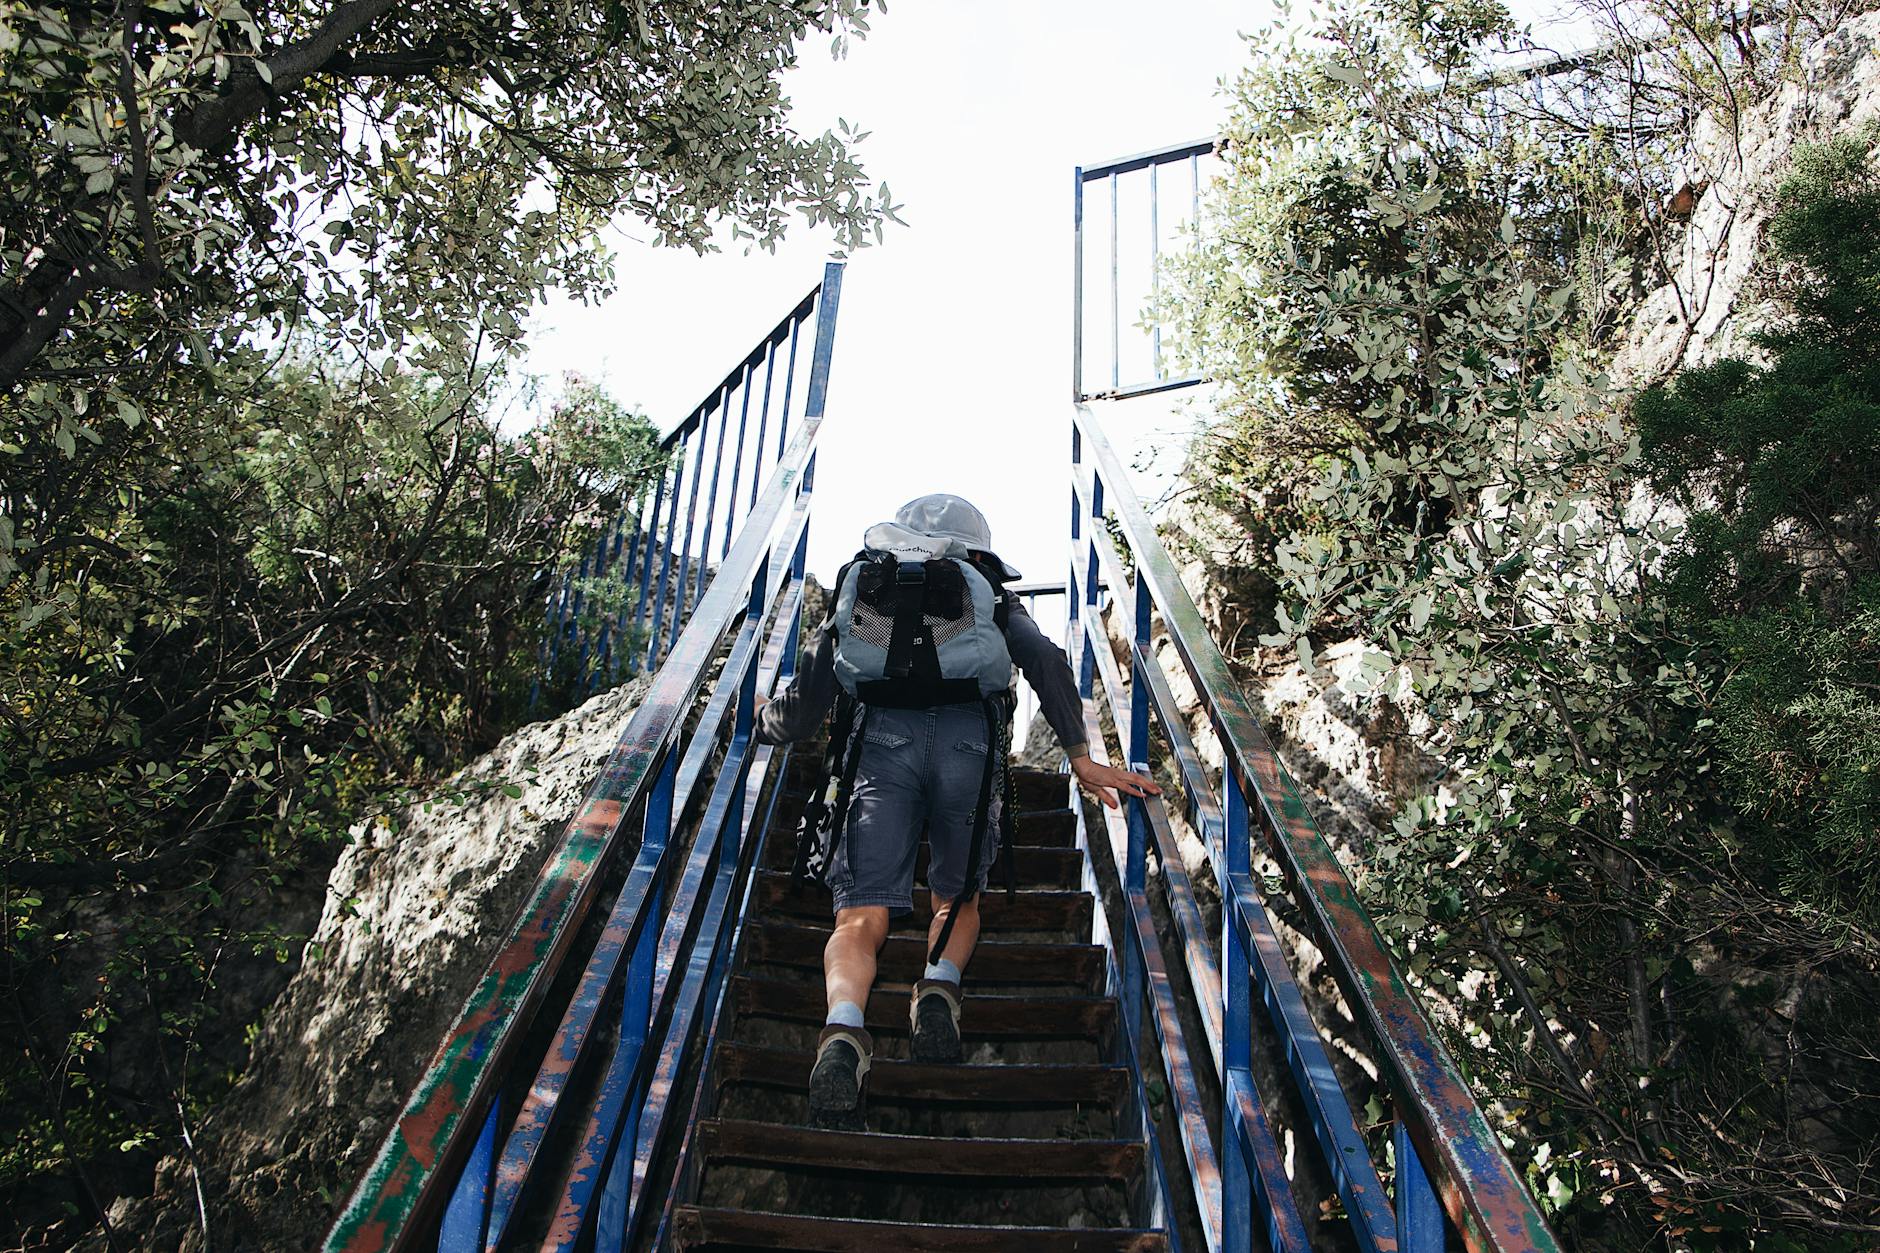
The Grouse Grind — affectionately nicknamed “Mother Nature’s Stairmaster” — is Vancouver’s most iconic and challenging short hike. The 2.5 km trail climbs 800 meters of elevation gain in a punishing 56% gradient, ending at the top of Grouse Mountain in North Vancouver. More than 100,000 hikers take it on each year, according to Grouse Mountain. Allow around 2-2.5 hours for the climb, the operator’s average for people with a good level of fitness; your own time will depend on fitness, motivation and how busy the trail is.
This guide covers everything you need to know: how hard it really is, when to go, what to bring, descent options (you cannot descend the Grind itself), and the post-hike rituals that make the experience complete.
Table of Contents
Grouse Grind: Quick Facts
- Distance: 2.5 km (1.55 miles) one-way
- Elevation gain: 800 m (2,624 ft)
- Average gradient: 56% (30 degrees)
- Time: Allow around 2-2.5 hours (Grouse Mountain’s average for fit hikers); times vary with fitness and trail traffic
- Difficulty: Strenuous
- Cost: FREE to climb up; C$20 online download ticket for the ride down (ages 13+), C$10 for ages 5-12
- Season: Seasonal; opening and closing depend on snow and conditions
- Direction: Up only; descent on Grind not permitted
How Hard Is It Really?
The Grouse Grind is genuinely challenging — it’s not a hike you should attempt without basic fitness.
Fitness baseline needed:
- Regular cardio activity (running, cycling, hiking, sports)
- Lower-body strength (squats, lunges, stairs)
- Ability to walk uphill for 2-2.5 hours without serious distress
- No major knee or ankle injuries
What makes it hard:
- 800 m elevation gain in just 2.5 km
- Constant uphill; almost no flat sections
- Roots, rocks, and uneven terrain
- Crowded trail (limited passing)
- Often hot and humid in summer
Comparison points:
- Harder than the Empire State Building (102 floors)
Who shouldn’t attempt it: People with severe heart conditions, knee/hip problems, recent surgeries, or no recent cardio training.

Getting to the Trailhead
Trailhead location: Grouse Mountain Resort at the top of Nancy Greene Way in North Vancouver.
By car: Lions Gate Bridge or Second Narrows Bridge → Capilano Road → Nancy Greene Way. How long it takes from downtown depends on bridge traffic.
Parking: Every lot at the base of Grouse Mountain is pay parking; rates and directions are on Grouse Mountain’s location and hours page.
By transit: SeaBus to Lonsdale Quay, then bus 236 to Grouse Mountain. TransLink’s Trip Planner gives the current journey time. Compass fares depend on the zones you cross and the time of day, so check TransLink’s fare table before you go.
By taxi/rideshare: Fares from downtown depend on your pickup point and traffic; get a quote in the app before you book.
Best arrival time: 7-9 AM for fewest crowds and coolest temperatures (especially summer).
The Trail Itself: 4 Quarters
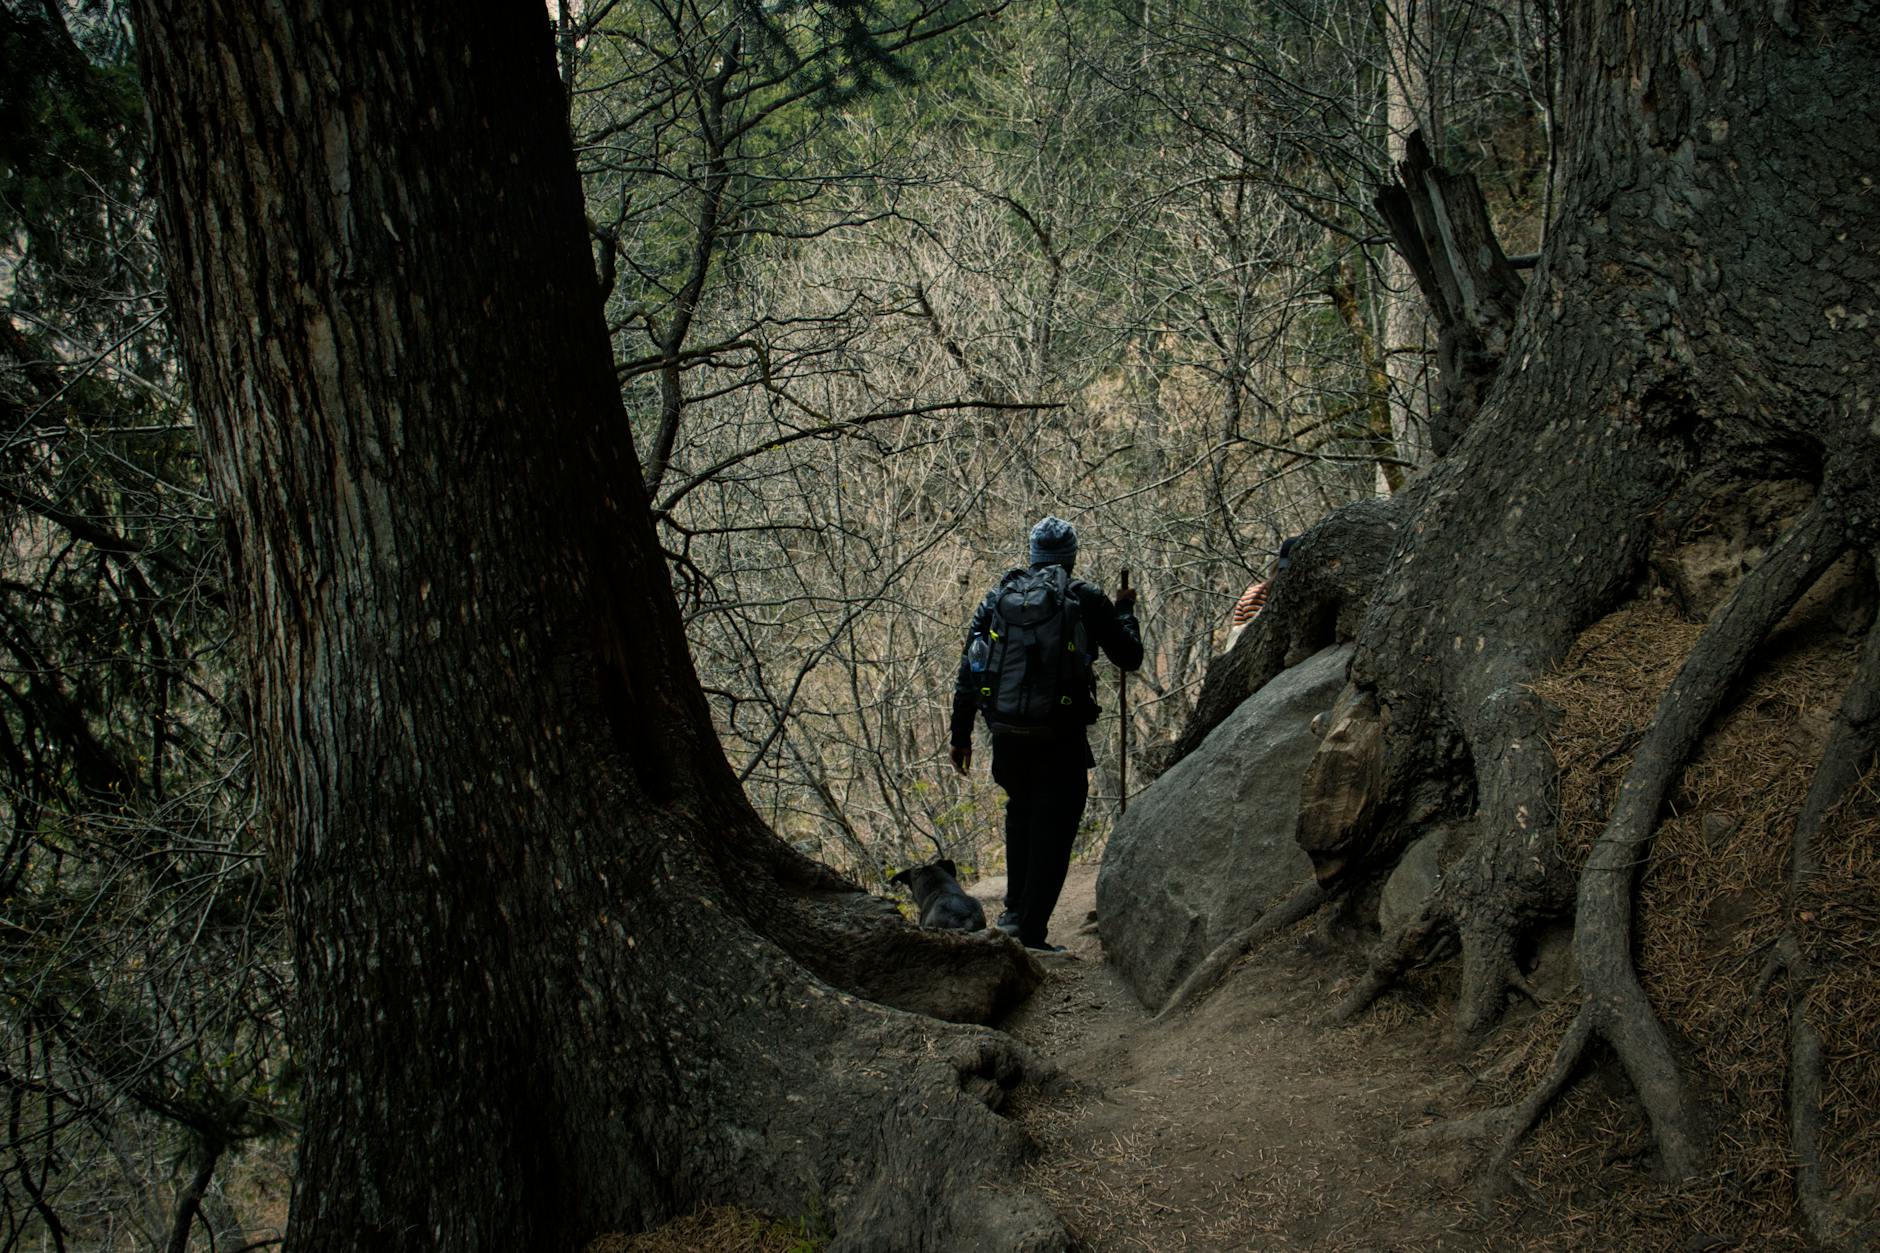
The Grind has 4 distinct sections marked along the way.
Quarter 1 (0-25%): Beginning section through dense forest with moderate gradient. Many people start fast here and regret it later. Pace yourself.
Quarter 2 (25-50%): Steeper, with several stair sections built into the trail. Roots and rocks become more challenging. Most hikers slow significantly here.
Quarter 3 (50-75%): Along with Quarter 2, the steepest part of the climb. Trail emerges from dense forest occasionally.
Quarter 4 (75-100%): The final quarter is less steep than the two before it, and you’re nearly there. Final 100m to the summit chalet.
Markers: The trail has clear quarter-markers (signs at 1/4, 1/2, 3/4 done) so you know how much remains.
When to Go
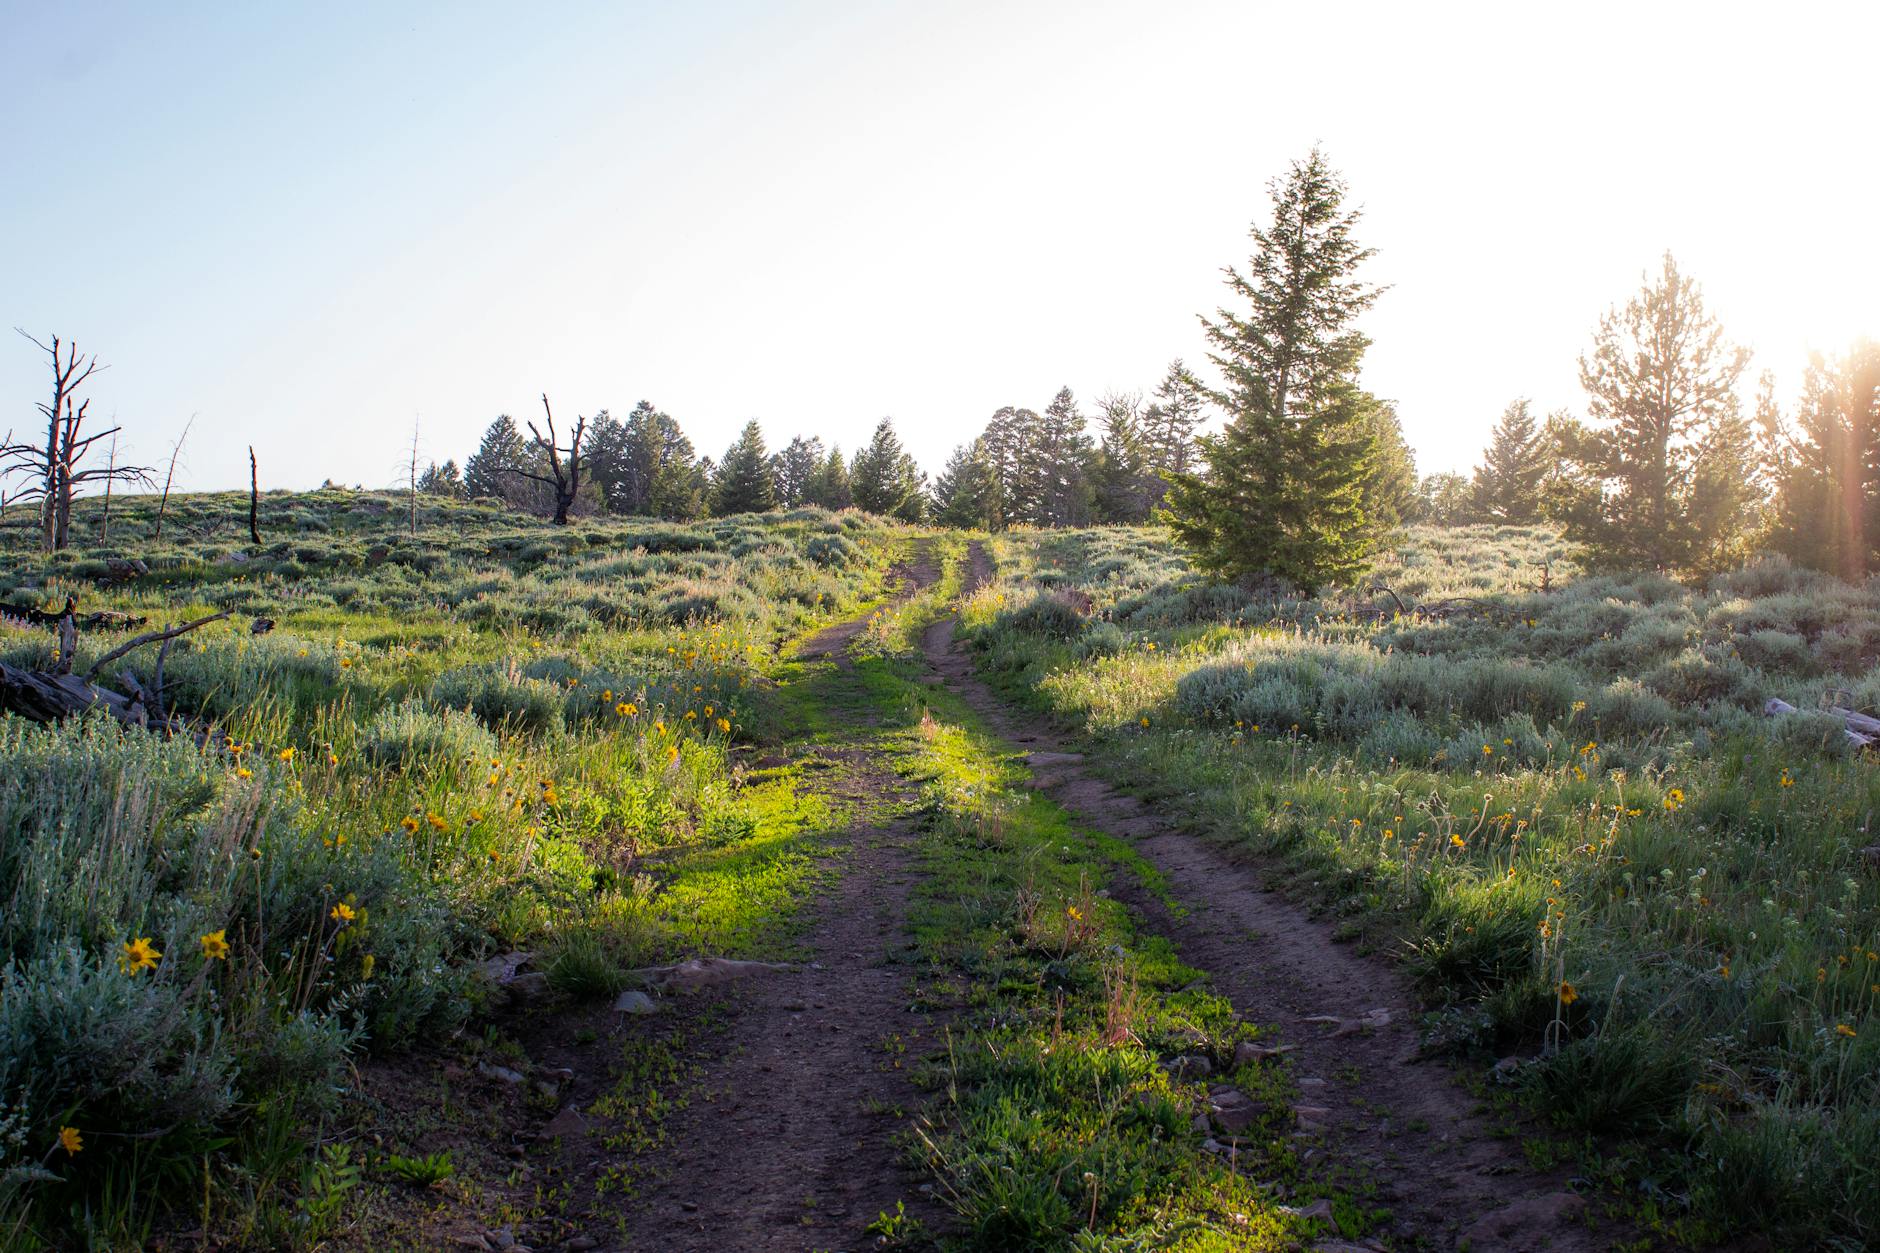
Best season: Late June through August for maximum daylight and dryness.
Trail status: The season depends on conditions, so check before going. Snow can delay opening; early-season mud is significant.
Best time of day: 6-8 AM on weekends; 7-9 AM on weekdays. Avoid afternoon during summer heat (especially July-August heat domes).
Worst times: Midday in July-August when temperatures peak; immediately after rain (slippery roots).
Sunset attempts: Some hike for sunset summit views, but descent must be by gondola, so check the day’s mountain hours for the last ride down before you start.
What to Bring
Essential:
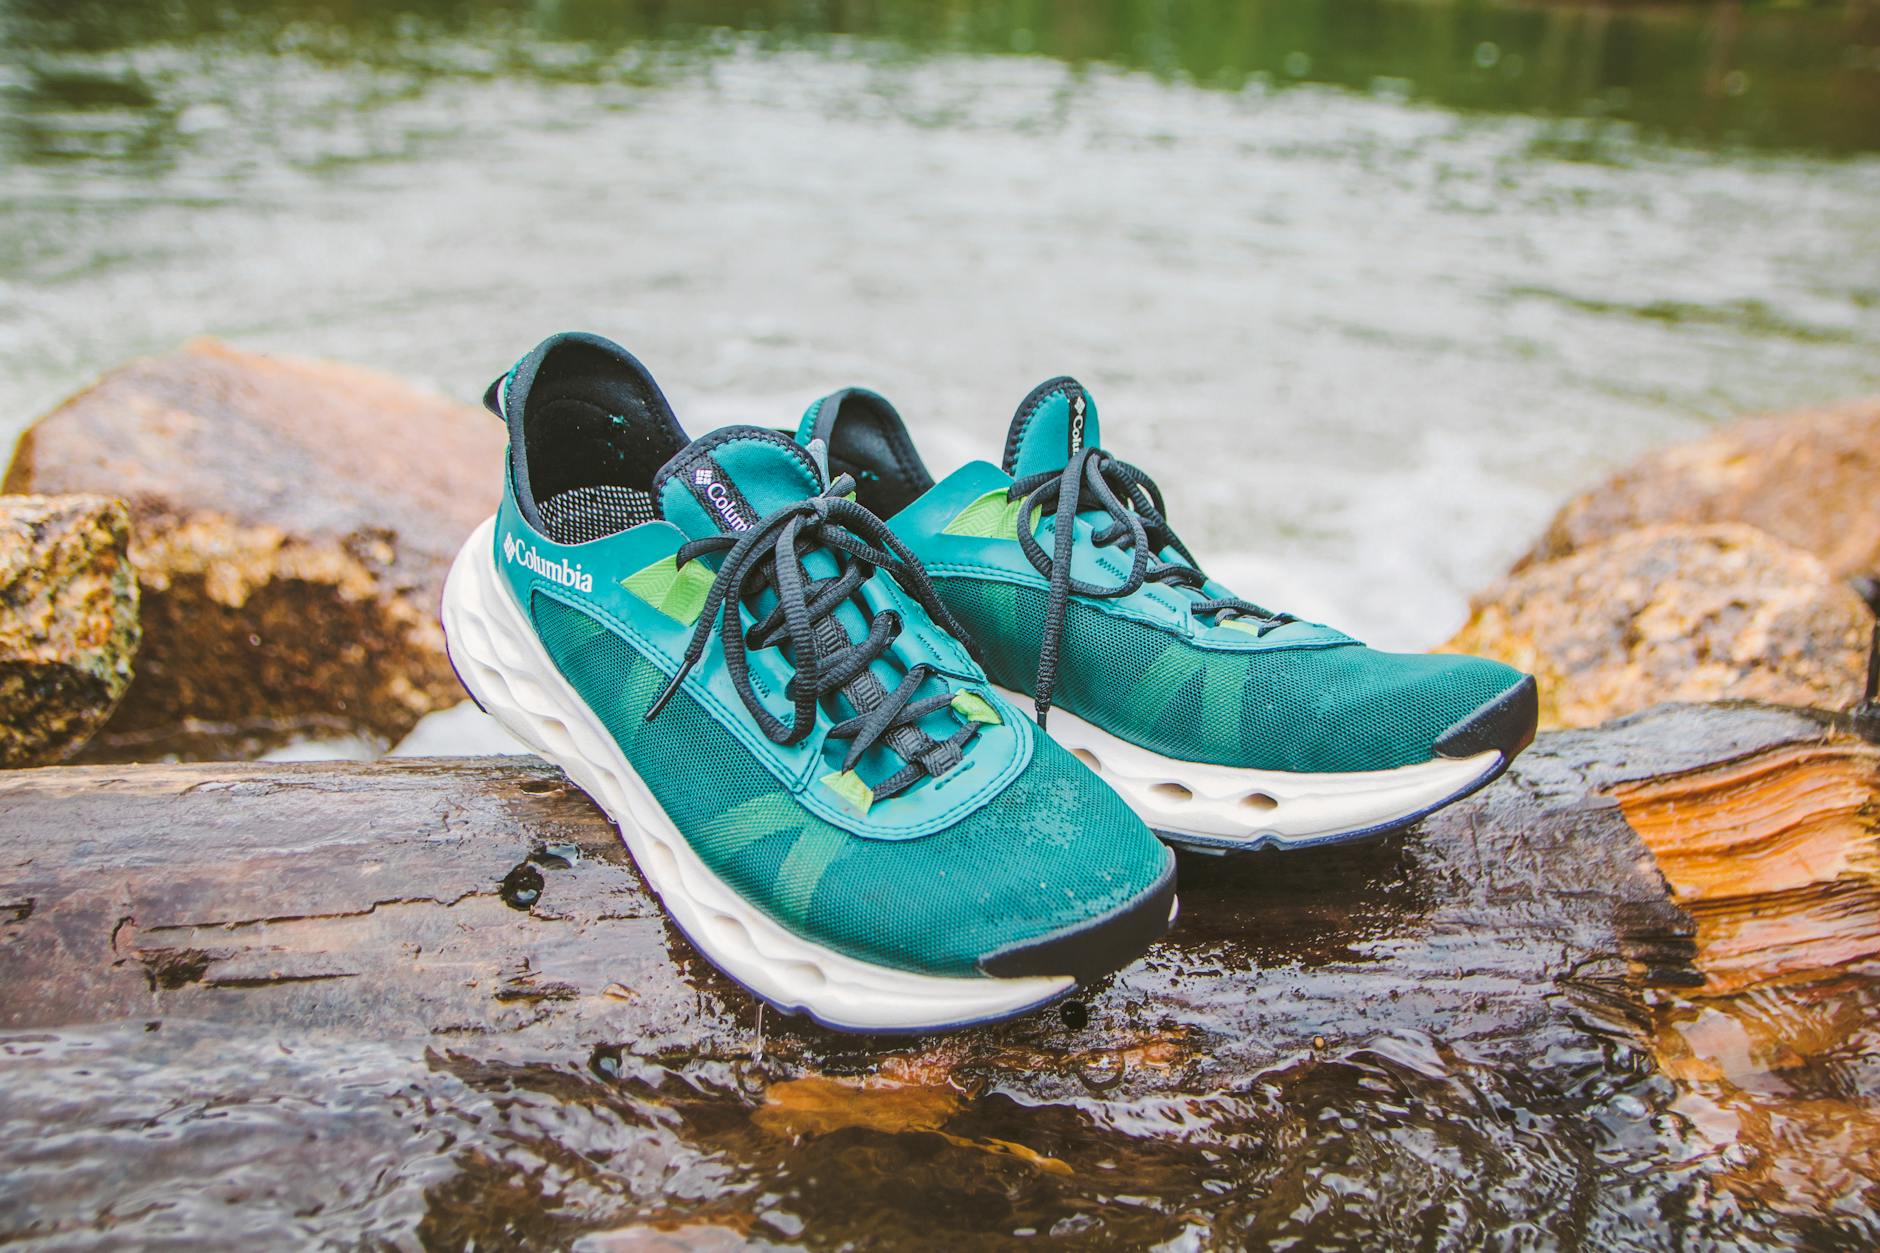
- Trail shoes or light hiking boots: Definitely not sandals or basic sneakers
- 1L+ water: Essential, especially summer
- Snack: Trail mix, banana, energy bar
- Layered clothing: Sweat-wicking shirt + light layer; pack a warm layer for the summit
- Smartphone: For emergencies, photos, calling for descent
- Sun protection: Sunscreen, hat, sunglasses
Recommended:
- Microfiber towel for sweat
- Headlamp if hiking close to sunset
- Cash for gondola ticket
- Knee braces if you have weak knees
- Hiking poles (helpful but not essential)
Don’t bring:
- Heavy backpack
- Glass containers
- Multiple bottles of water (1L is enough for most)
- Audio at high volume (etiquette violation)
Trail Etiquette
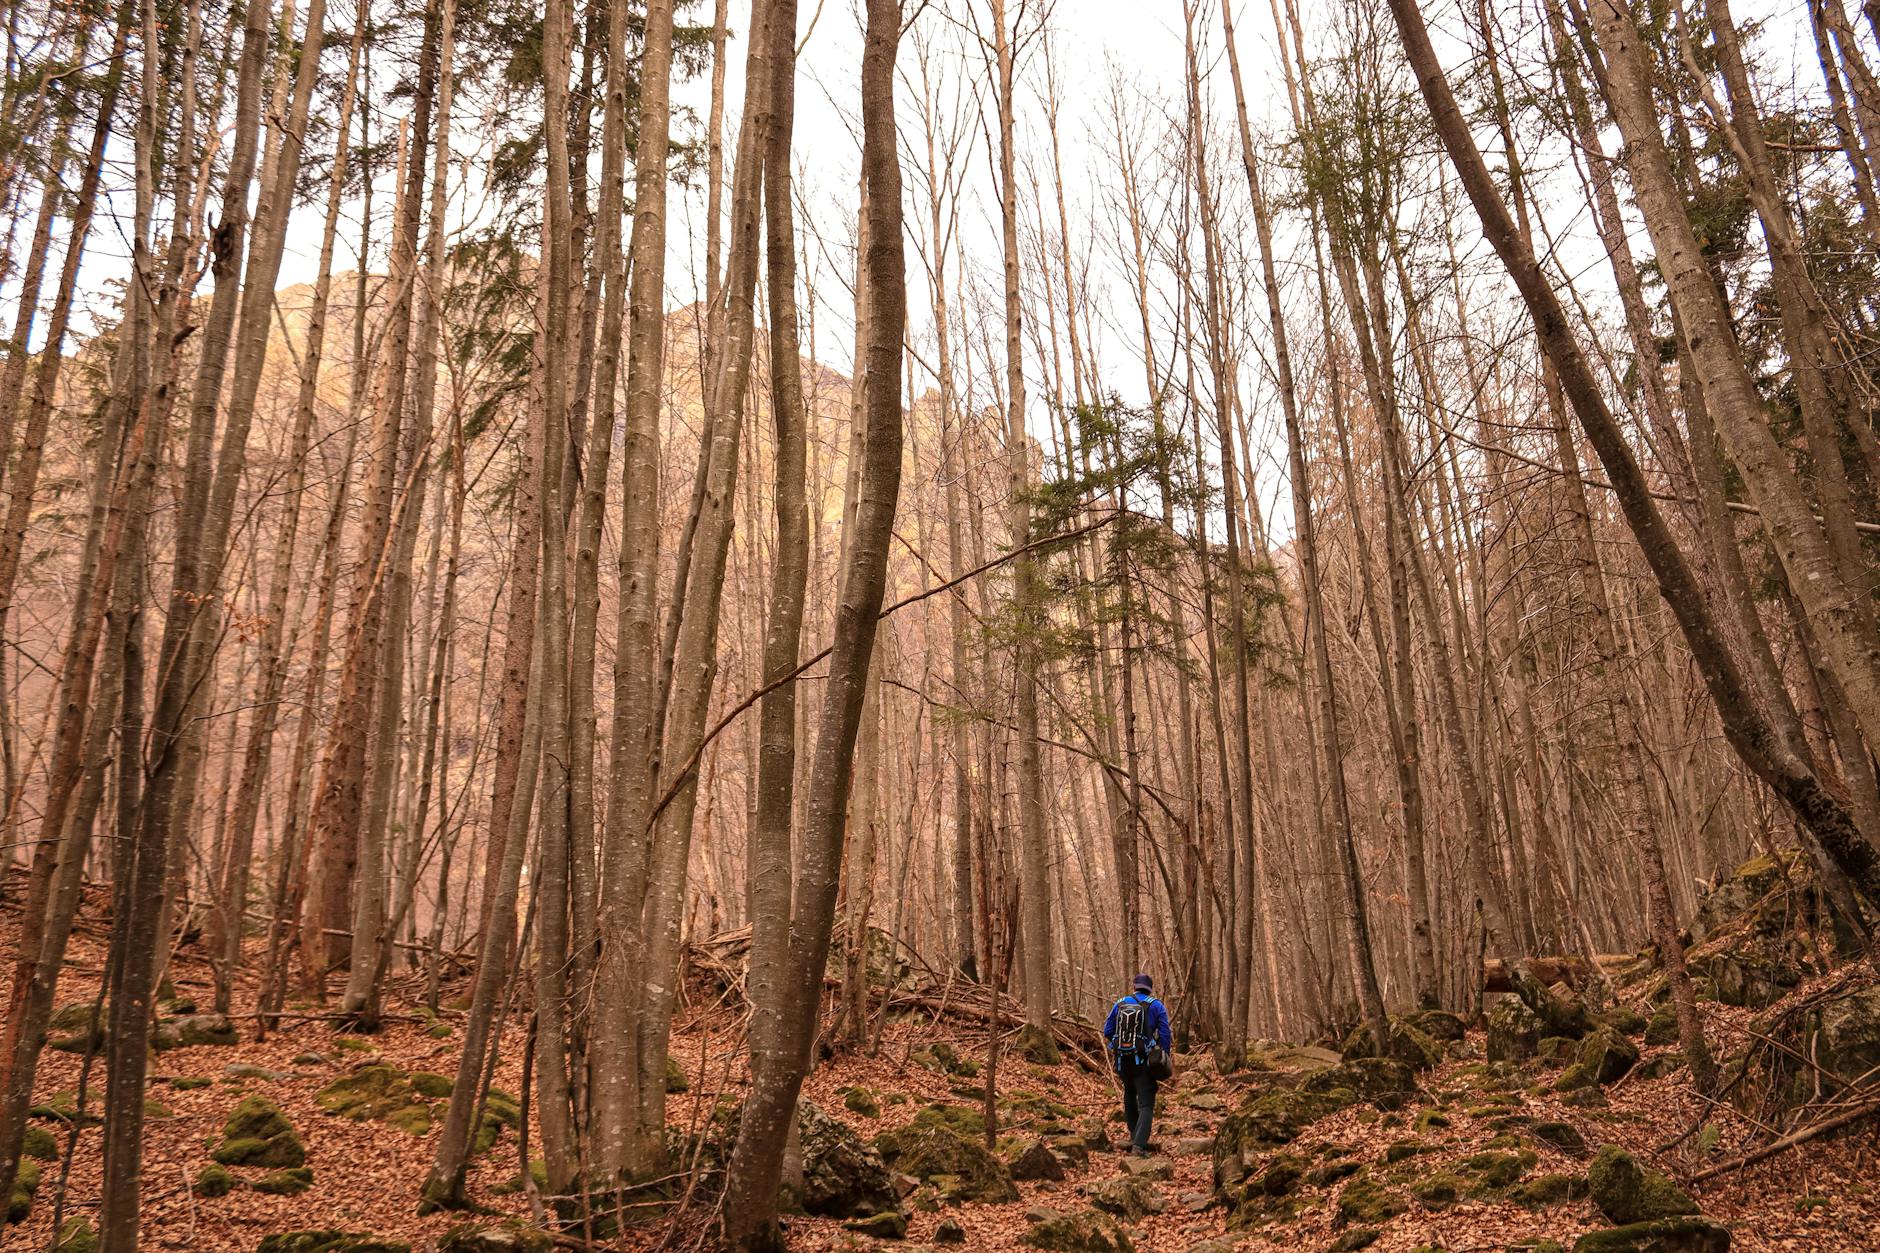
1. Always keep right. The trail is narrow; keep right so faster hikers can pass on the left.
2. Yield to descending hikers. Wait, but note: officially you shouldn’t be descending the Grind. If you encounter someone, yield safely.
3. Music low or off. Keep music in headphones at moderate volume. Loud music speakers irritate other hikers.
4. Pull over to rest. Don’t stop in the middle of the trail. Step to the side or rest at viewing platforms.
5. Pack out everything. No trash on the trail. Pack out energy-bar wrappers, water bottles, etc.
6. Don’t shortcut. Stay on the trail; cutting switchbacks damages the ecosystem.
7. Be friendly. The Grind has a community feel — fellow hikers usually exchange “good job” or “halfway there!” encouragements.

Descent Options
You CANNOT descend the Grind itself — downhill traffic isn’t permitted due to falling rocks, trail damage, and congestion.
Option 1: Grouse Mountain Skyride (gondola):
- Cost: C$20 one-way down with an online download ticket (ages 13+); adult Mountain Admission, which includes the round trip, is C$89
- Most popular descent
- Beautiful aerial views of Vancouver and the harbor
Option 2: BCMC Trail (descent route):
- Free
- 2.9 km descent route
- Knee-punishing; requires good knees
Option 3: Hike up Grind, descent BCMC, then walk down to road: The whole day on foot, with the BCMC Trail as your way down.
Recommendation: Most hikers go up the Grind, take the gondola down. The descent fee is worth saving your knees for the rest of the day.
At the Top: What You’ll Find
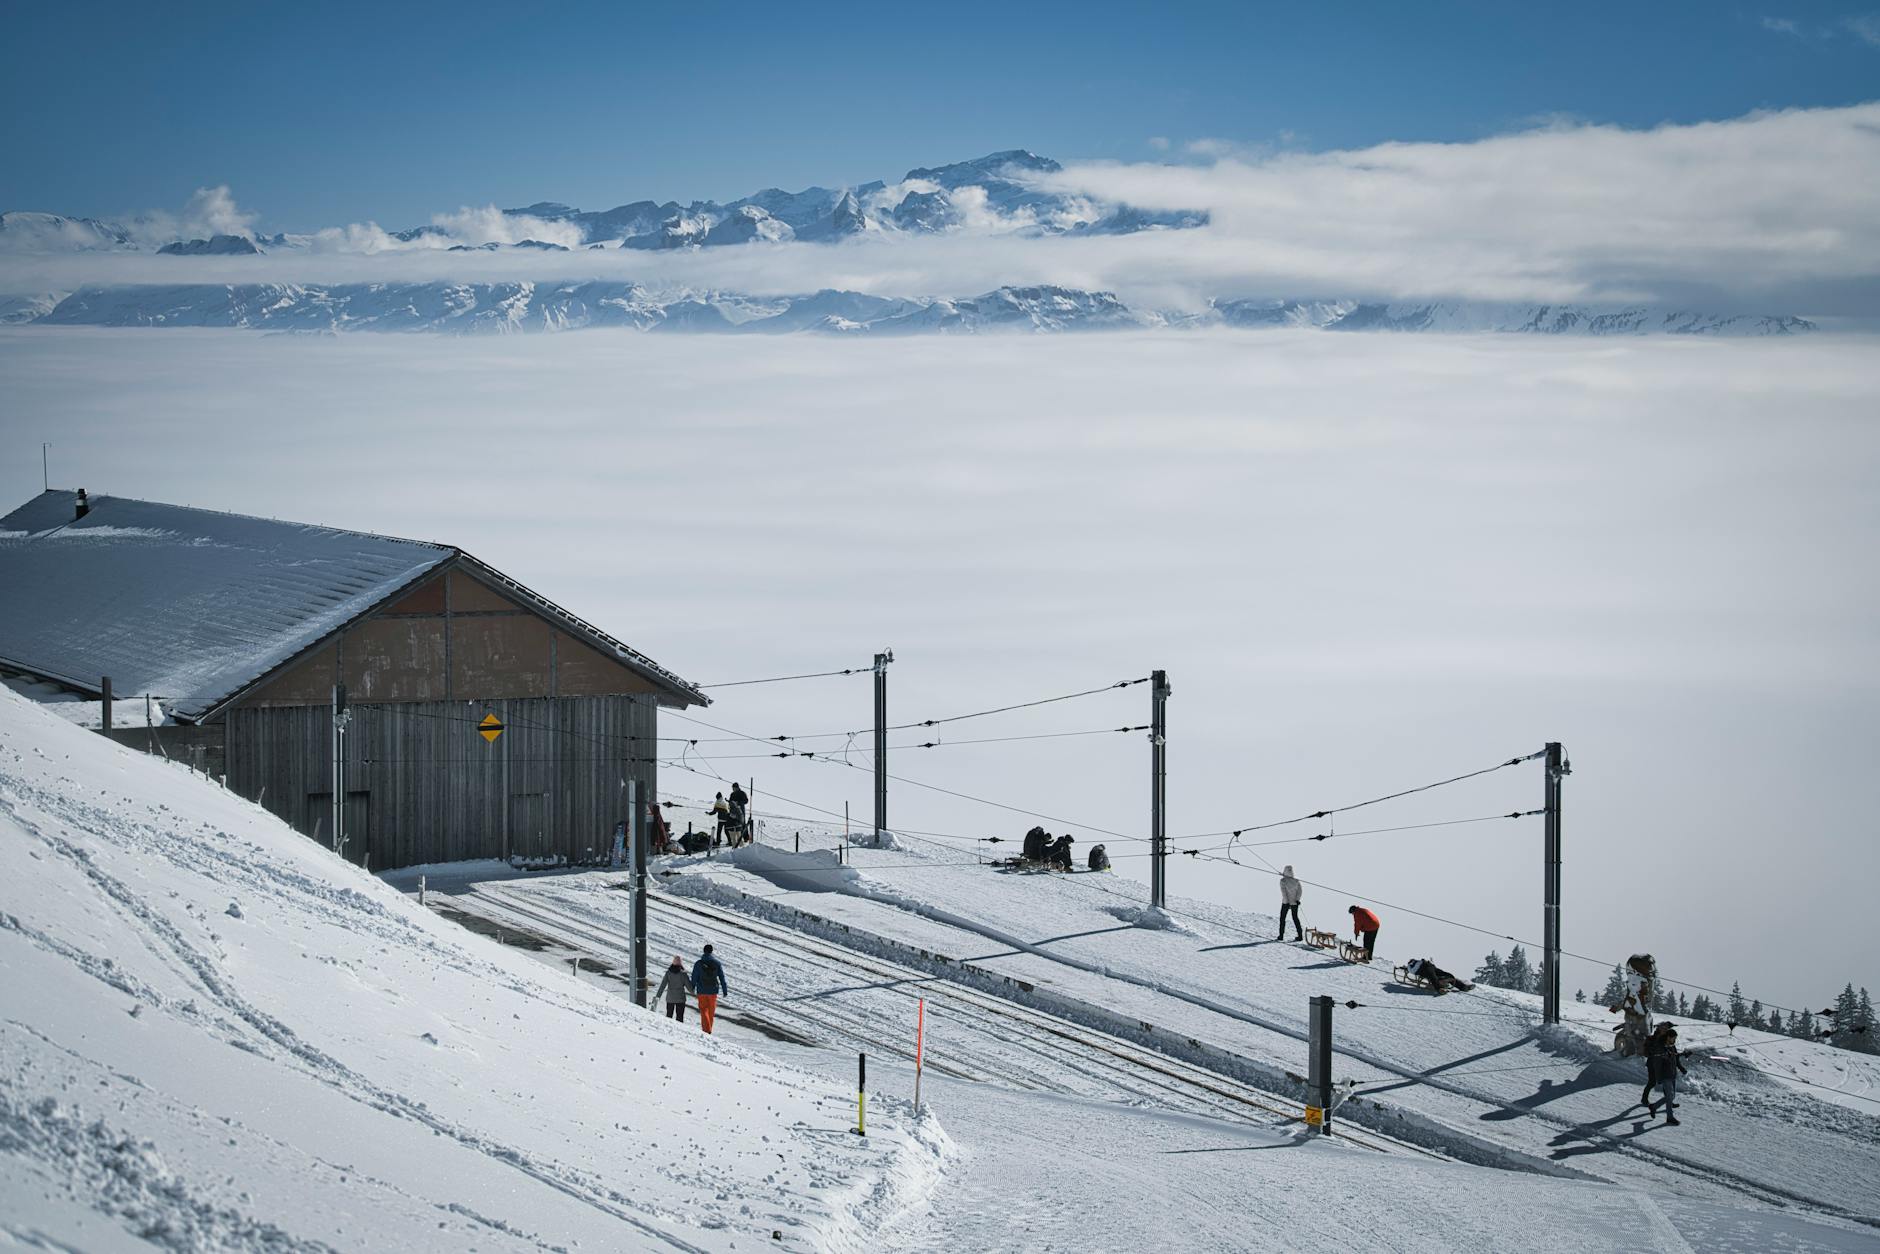
Grouse Mountain Resort facilities at the summit:
- Café (snacks, sandwiches, drinks)
- The Observatory restaurant (sit-down dining with mountain view)
- Refrigerator for personal water bottles
- Restrooms and changing rooms
- Mountaintop sundeck
- Gift shop with Grind-themed merchandise
Grouse Mountain attractions (paid extra):
- Grizzly Bear Habitat: Home to Coola, the refuge’s resident grizzly; Grinder, the second bear, died on July 31, 2026
- Lumberjack Show: Comedy logger competition (summer only)
- Wind Walk: Suspension bridge experience
- Eye of the Wind: Wind turbine with viewing pod (currently closed to the general public)
- Mountain biking: Lift-served downhill biking (the Bike Park is closed for the 2026 season)
- Skating, skiing in winter: When trail is closed
Grouse Mountain admission: Adult Mountain Admission is C$89 for ages 19-64, or C$74 for Lower Mainland residents, and covers the round trip on the Red Skyride or Blue Grouse Gondola plus the open included attractions (the Grind itself is free). Hikers who reach the summit on foot can take the gondola down for C$20.

BCMC: The Sister Trail
BCMC stands for British Columbia Mountaineering Club — the alternative trail to the Grind, often used for descent.
BCMC stats:
- Distance: 2.9 km
- Elevation gain: 750 m
- Less crowded than the Grind
- Slightly more technical with some root scrambles
- Ascent or descent allowed
Why use BCMC instead of Grind:
- Less crowded
- Free descent option
- Slightly more interesting terrain
- Fewer photo-stops to navigate around
Why most prefer the Grind:
- Better-maintained trail
- Clearer markers
- More established as Vancouver hiking ritual
- Better social atmosphere
Post-Hike Rituals
Vancouverites have specific post-Grind traditions.
1. The Observatory beer/coffee: Restaurant at summit with mountain views.
2. Gondola down at sunset: If you time it for late afternoon, the gondola descent during golden hour is magical.
3. Lonsdale Quay food after: Drive down, take SeaBus to downtown, or stop at Lonsdale Quay for substantial post-hike eating.
4. Photo at the summit sign: Iconic Vancouver photo opportunity.
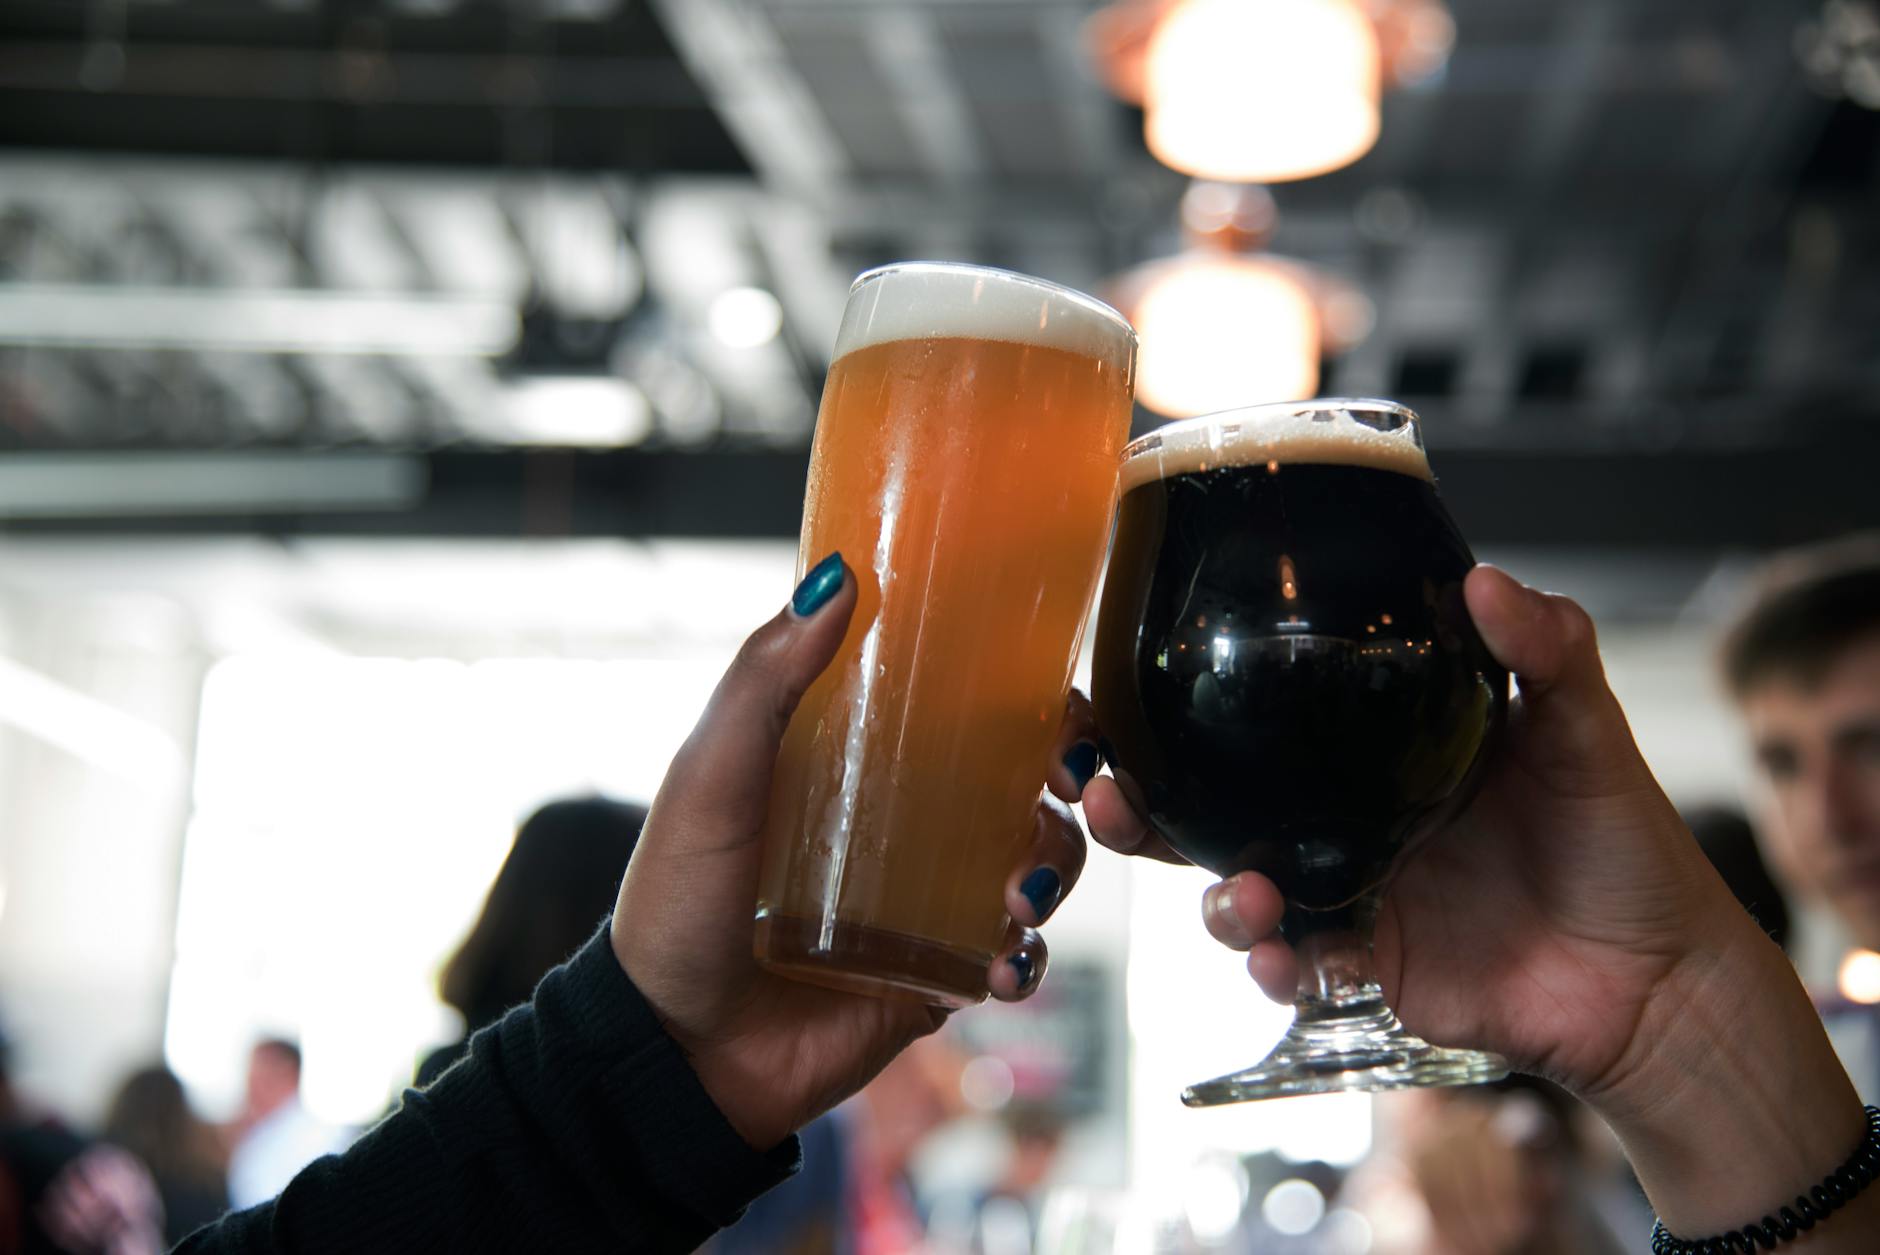
5. Recovery drink: Many hikers head to a local brewery (Steamworks, Stanley Park Brewing) for celebratory beer.
6. Spa or hot tub: Some Vancouver hotels offer day-use spa access. Bota Bota in Vancouver is a popular post-Grind decompress.
Personal Best & Top Times
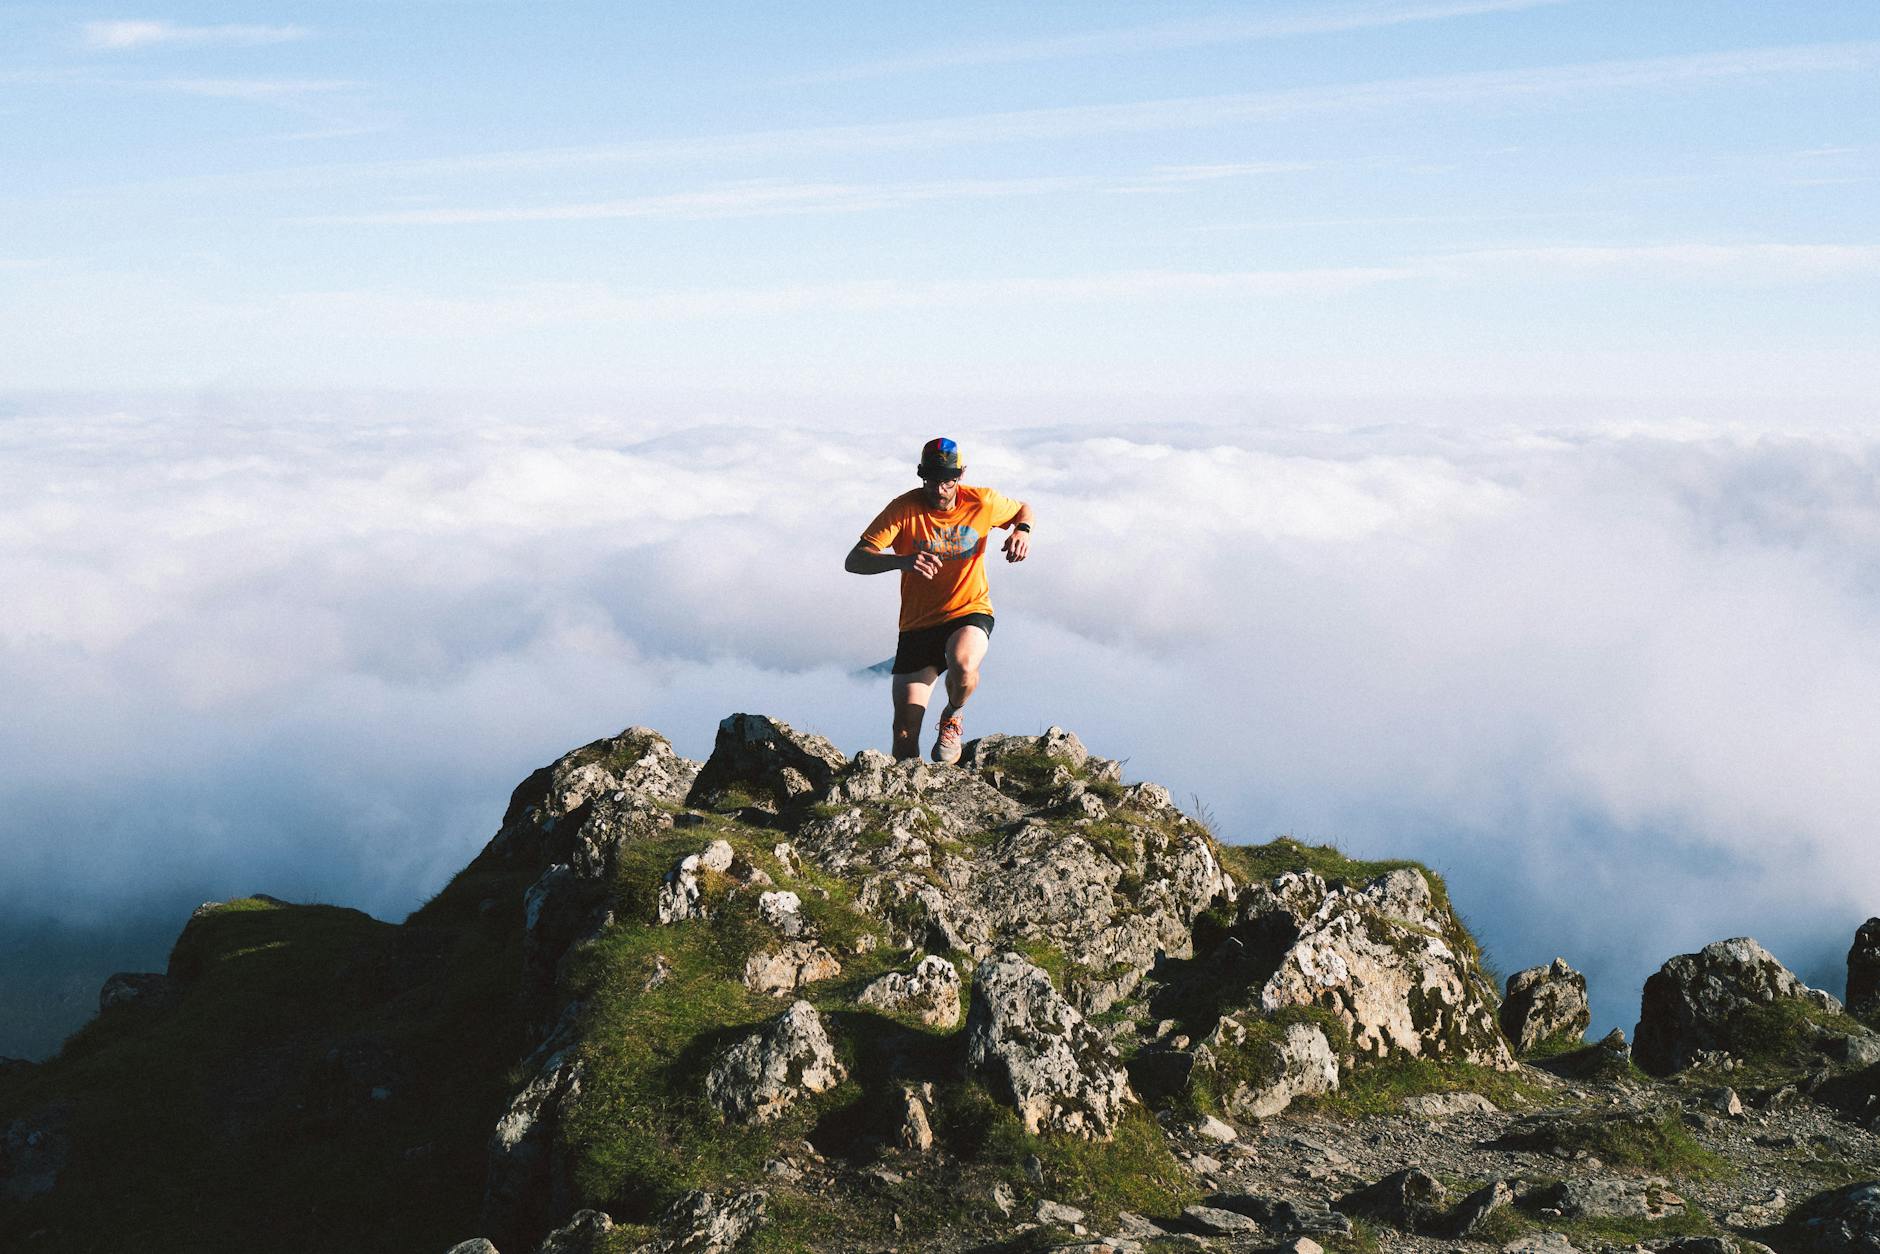
The Grind has an unofficial timing tradition — many hikers strive for personal-best times.
Time benchmarks:
- Average fit: 2-2.5 hours (Grouse Mountain’s figure)
- Fastest on record: Sebastian Salas, 23:48, an unofficial ascent in 2010
Tracking your time:
- Many hikers use Strava or AllTrails to track
- Grouse Mountain’s Annual Pass+, with Skyride and gondola access, suits serious hikers
Vancouver Grouse Grind Mountain Run: Annual race typically held in September. Multiple categories.
Related Vancouver guides
Keep planning with these guides:
- Lynn Canyon Park & Free Suspension Bridge (2026)
- Hard & Advanced Hikes Near Vancouver (2026)
- Grouse Mountain Ski Guide (2026)
Grouse Grind FAQs
How long does it take to do the Grouse Grind?
Allow around 2-2.5 hours, Grouse Mountain’s average for people with a good level of fitness; your time depends on fitness, motivation and trail traffic. The fastest recorded ascent is an unofficial 23 minutes 48 seconds, set in 2010.
Is the Grouse Grind free?
Yes — climbing up is free. Coming down requires either the gondola (C$20 with an online download ticket for ages 13+, C$10 for ages 5-12) or the BCMC trail (free).
How hard is the Grouse Grind?
Strenuous. 800 m elevation gain in 2.5 km at 56% gradient. Requires basic fitness; not recommended for beginners or those with knee/heart issues.
When is the Grouse Grind open?
Seasonally, with dates set by conditions and Metro Vancouver. Closes for winter snow. Check status before going.
Can I descend the Grouse Grind?
No — descent on the Grind itself is not permitted. Use the gondola or BCMC trail.
What should I wear for the Grouse Grind?
Trail shoes or hiking boots; sweat-wicking shirt; layers. Bring 1L water and a snack.
How do I get to the Grouse Grind from downtown Vancouver?
Drive via Lions Gate Bridge; take the SeaBus to Lonsdale Quay and then bus 236; or take a taxi. Travel times and taxi fares depend on traffic, so check a live estimate before you set off.
Training for the Grouse Grind
The Grouse Grind requires physical preparation. A 4-6 week training program transforms a struggle into a satisfying challenge.
Baseline assessment: Can you walk briskly uphill for 30 minutes without stopping? Can you climb 10 flights of stairs without distress? If yes to both, you can attempt the Grind. If no, train for 4-6 weeks first.
Training plan (4 weeks):
- Week 1: 30-minute walks at moderate pace 4×/week. Add 10-15 flights of stairs daily.
- Week 2: 45-minute walks 4×/week. Add hill walking on weekends. 20+ flights of stairs daily.
- Week 3: 60-minute walks; introduce hill repeats (5 sets of 30-second uphill walks). 30+ flights of stairs daily.
- Week 4: Full-effort 90-minute walks. Practice the Grouse Grind on a smaller hill (BCMC trail or similar).
Strength training (parallel):
- Squats (bodyweight; 3 sets of 15)
- Lunges (3 sets of 12 each leg)
- Step-ups onto a chair or low platform (3 sets of 12 each leg)
- Calf raises (3 sets of 20)
- Plank (3 sets of 30-60 seconds)
Cardio building:
- Interval training: 1 minute hard, 2 minutes recovery × 8 sets
- Cycling: 30-60 minutes
- Swimming: 30-45 minutes
- Running: Build to 30+ minutes 3×/week
Recovery basics:
- Rest day between heavy training days
- Stretch hamstrings and calves daily
- Sleep 7-9 hours nightly
- Hydrate well (3+L water daily)
- Adequate nutrition (especially carbohydrates and protein)
Pre-Grind taper (5-7 days before):
- Reduce training intensity by 30%
- Sleep extra hours
- Hydrate aggressively
- Rest day before climbing
Grouse Grind in Different Seasons
The Grouse Grind is a seasonal trail, with opening and closing set by conditions. Each season offers different conditions.
Late spring:
- Opening depends on snow, so check Metro Vancouver’s trail status before you go
- Some snow lingering near summit (especially upper sections)
- Cool temperatures; comfortable for hard exertion
- Less crowded than peak summer
- Potentially muddy from snow melt
- Wildlife (bears emerging from hibernation) — make noise on trail
Summer (July-August):
- Peak Grind season
- Warmest weather of the season, and heat domes can push it much higher
- Busiest time of year on the trail
- Best for those wanting community feel
- Risk: Heat exhaustion if attempting without preparation
- Bring more water than usual
Early fall:
- Best season for many Vancouver hikers
- Milder temperatures than summer
- Reduced crowds (after Labour Day)
- Stable weather; less rain than summer
- Fall colors at the summit
- Often the best photography light
Late fall:
- Cooler temperatures
- Increasing rain
- Trail can be slippery from rain
- Quietest period; many local hikers do their personal-best attempts
- Trail closes for the season
Winter (closed): Closing and opening dates depend on conditions and Metro Vancouver, so check the trail status before you go. This fall the Grind is closed for annual maintenance through November 10, with reopening listed for November 11. Snow makes the trail dangerous; not officially patrolled.
BCMC Trail year-round option: The BCMC Trail (parallel ascent route) sometimes stays open in shoulder seasons. Confirm at Grouse Mountain before attempting in November or April.
Common Grouse Grind Mistakes
Most Grind attempts have specific mistakes that turn the experience from challenging to miserable.
Mistake 1: Starting too fast. The first quarter feels easy; many hikers race through it then collapse on the steeper later sections. Pace yourself — start at 70-80% of perceived effort.
Mistake 2: Wearing wrong shoes. Sandals, basic sneakers, or running shoes without trail tread fail in roots and rocks. Trail shoes or hiking boots minimum.
Mistake 3: Insufficient water. 1L is the minimum; 1.5-2L for hot summer days. Running out of water mid-Grind is dangerous.
Mistake 4: No food. Many hikers attempt the Grind on empty stomachs. Bring trail mix, banana, or energy bar even for a 90-minute hike. Bonking on the trail is unpleasant.
Mistake 5: Wrong clothing. Cotton sweaters trap sweat. Synthetic or merino wool wicks moisture. Dressing too warm causes overheating.
Mistake 6: Music too loud. Etiquette violation; affects others’ experience. Keep volume moderate.
Mistake 7: Stopping mid-trail. Don’t stop in the middle; step to the side. Frequent stops impede other hikers.
Mistake 8: Trying to descend the Grind. Officially prohibited. Attempting causes accidents and trail damage.
Mistake 9: Underestimating the Grind. “It’s only 2.5 km” attitude. Packing 800m of elevation gain into that distance is what makes it challenging.
Mistake 10: Not warming up. Cold muscles tear easily. 5-minute warm-up walk before starting the Grind.
Mistake 11: Skipping the post-summit reward. Many hikers race down without enjoying the top. Take 30-60 minutes at the summit; rehydrate; have a coffee or beer.
Records & Notable Times
The Grouse Grind has attracted competitive interest since the 1990s.
Fastest recorded ascent:
- 23 minutes 48 seconds, an unofficial time set by Sebastian Salas on August 24, 2010
Notable times:
- Fit adults: around 2-2.5 hours on average, per Grouse Mountain
Annual Grouse Grind Mountain Run: Race held in September, run up the Grind itself. Spectacular event for fitness enthusiasts.
Daily speed records: Local fitness fanatics check times via Strava. Some have done 10+ Grouse Grinds in a single day (Grouse Grind ultra). Annual challenge events attract dozens.
Most-ascents record: Grouse Mountain’s Multi Grouse Grind Challenge is the official sanctioned event for the record for most ascents.
How long should YOUR Grind take? First-time attempts should be moderate-paced: Grouse Mountain’s 2-2.5 hour average for fit hikers is a sensible plan. Don’t push for personal-best until you’ve completed 5+ Grinds.
Annual Pass+: Grouse Mountain’s pass for frequent climbers costs C$279 for adults aged 19-64 and includes Skyride and gondola access. At C$20 per download ticket, it pays for itself from your 14th ride down in a year.
What to Do After the Grind
The post-Grind experience completes the day.
At the summit (60-90 minutes recommended):
- The Observatory restaurant: Sit-down dining with mountain view
- Mountaintop café: Quick snacks, coffee, beer
- Sundeck for resting and enjoying the view
- Photography time at iconic vantage points
- Optional: Grouse Mountain attractions (skating, lumberjack show, grizzly habitat)
Grouse Mountain attractions worth knowing:
- Skyride down from the summit (C$20 online download ticket, valid one way downhill only)
- Grizzly Bear Habitat (home to Coola)
- Lumberjack Show (summer only; entertaining)
- Wind Walk (suspension bridge experience)
- Refuge for Endangered Wildlife (free)
Descent options:
- Skyride down: C$20; spectacular views
- BCMC Trail descent: hike down instead of riding
- Combination: Skyride down to base; walk back to car
Post-Grind recovery:
- Stretch hamstrings, calves, hip flexors
- Hydrate aggressively
- Eat substantial protein-rich meal
- Hot bath (or hot tub if available) helps muscle recovery
- Sleep adequately to consolidate fitness gains
Best post-Grind food/drink stops in Vancouver:
- Capilano Canyon area: Multiple cafe options
- Lonsdale Quay: Public market with diverse food vendors
- Tap & Barrel Lonsdale: Beer and pub food
- Jam Café (downtown): Substantial brunch fare
- Joe Fortes (Robson): Premium seafood for those splurging
- Vancouver downtown microbreweries (Steamworks, Stanley Park Brewing): Celebratory beer
Recovery tip: Plan a “rest day” the day after a Grouse Grind. Walking 5+ km on flat terrain is fine; avoid intense exercise for 24-48 hours.
Pacing Strategies for the Grouse Grind
Most Grind attempts fail not from lack of fitness but from poor pacing. Strategic pacing dramatically improves the experience.
Strategy 1: Start at 60-70% effort, build to 80-90%. The first quarter is deceptive — flat sections lead hikers to start too fast. Settling at moderate effort (talking pace) for the first quarter, then progressively pushing harder, produces better outcomes than fast-starting.
Strategy 2: Use the quarter markers psychologically. Quarter 1 (rest assessment), Quarter 2 (commit), Quarter 3 (push), Quarter 4 (sprint). Mental compartmentalization helps.
Strategy 3: Maintain consistent breathing. Match breathing rhythm to footfall (e.g., breathe in 2 steps, breathe out 2 steps). Helps maintain effort consistency.
Strategy 4: Hydrate strategically. Drink small sips at quarter markers rather than gulping large amounts. Reduces stomach distress.
Strategy 5: Pause but don’t stop completely. If you need rest, walk slowly rather than stopping. Cooling muscles tighten and re-starting is harder.
Strategy 6: Find someone slightly faster than you. Following a slightly faster hiker gives you pace target and motivation. Don’t try to match elite hikers.
Strategy 7: Avoid lookouts during ascent. Save photo stops for quarter markers; don’t break rhythm for views.
Strategy 8: Mental tricks for hard sections. Count steps; recite words; focus on next quarter; visualize the summit.
Strategy 9: Adjust pace for weather. Hot days require slower start; cold days allow faster pace.
Strategy 10: Don’t try for personal best on first attempt. First Grind: focus on completion at moderate pace. Personal best attempts after 3+ Grinds.
Sample pacing for 90-minute Grind:
- Quarter 1 (15 min): Easy pace, conversation possible
- Quarter 2 (20 min): Moderate; harder breathing
- Quarter 3 (25 min): Hard; can’t speak full sentences
- Quarter 4 (30 min): Maximum effort; visible sweat
Sample pacing for 60-minute Grind (strong hiker):
- Quarter 1 (12 min): Moderate
- Quarter 2 (15 min): Hard
- Quarter 3 (16 min): Very hard
- Quarter 4 (17 min): Maximum effort
Cross-Training for Better Grind Times
Grind-specific training is most effective. But targeted cross-training helps significantly.
Best cross-training activities:
- Hill repeats on city stairs: Stadium-Chinatown SkyTrain stairs, Mountain View Cemetery stairs, Lookout Hill in Stanley Park. Climb 5-10 times.
- Treadmill incline walking: Set treadmill to 12-15% incline at 4-5 km/h; sustain 30-45 minutes.
- Running uphill: Find a steep hill in Mt. Pleasant or Coal Harbour; run 5-10 minute hill repeats.
- Stair climbing machine: Mimics Grind closely; 30-45 minute sessions at moderate-hard pace.
- Cycling: Builds cardio without joint impact. 30-90 minute rides 3×/week.
- Swimming: Full-body cardio; recovery from training.
- Hiking other trails: Lynn Headwaters Lynn Peak (similar elevation gain), Mt. Seymour Pump Peak, Quarry Rock multiple times.
Strength training for hiking:
- Squats (3 sets of 15)
- Lunges (3 sets of 12 each leg)
- Step-ups (3 sets of 12 each leg with 25 cm step)
- Calf raises (3 sets of 25)
- Single-leg squats (3 sets of 8 each leg)
- Bulgarian split squats (3 sets of 10 each leg)
- Hamstring curls or deadlifts
- Plank (3 sets of 60 seconds)
- Side planks (3 sets of 30 seconds each side)
Cardio building:
- HIIT intervals (30 seconds hard, 60 seconds easy × 10)
- Tempo runs (30-45 minutes at moderate pace)
- Long slow distance (60-90 minutes at conversational pace)
- Brick workouts (cardio + strength back-to-back)
Recovery essentials:
- Foam rolling (calves, quads, IT band)
- Yoga (flexibility for tight quads and calves)
- Sleep 7-9 hours nightly
- Hydrate 3+L water daily
- Adequate carbs and protein
- Rest day between hard sessions
Sample 6-week training plan to set personal best:
- Week 1-2: Build base (45-min walks 4×/week + 2 strength sessions)
- Week 3-4: Add intensity (HIIT 2×/week + hill repeats 1×/week + 2 strength)
- Week 5: Test Grind at moderate pace (don’t push for personal best)
- Week 6: Personal-best Grind attempt
Related reading: Pair this with our Grouse Mountain guide, easy hikes, and Vancouver outdoor pillar.